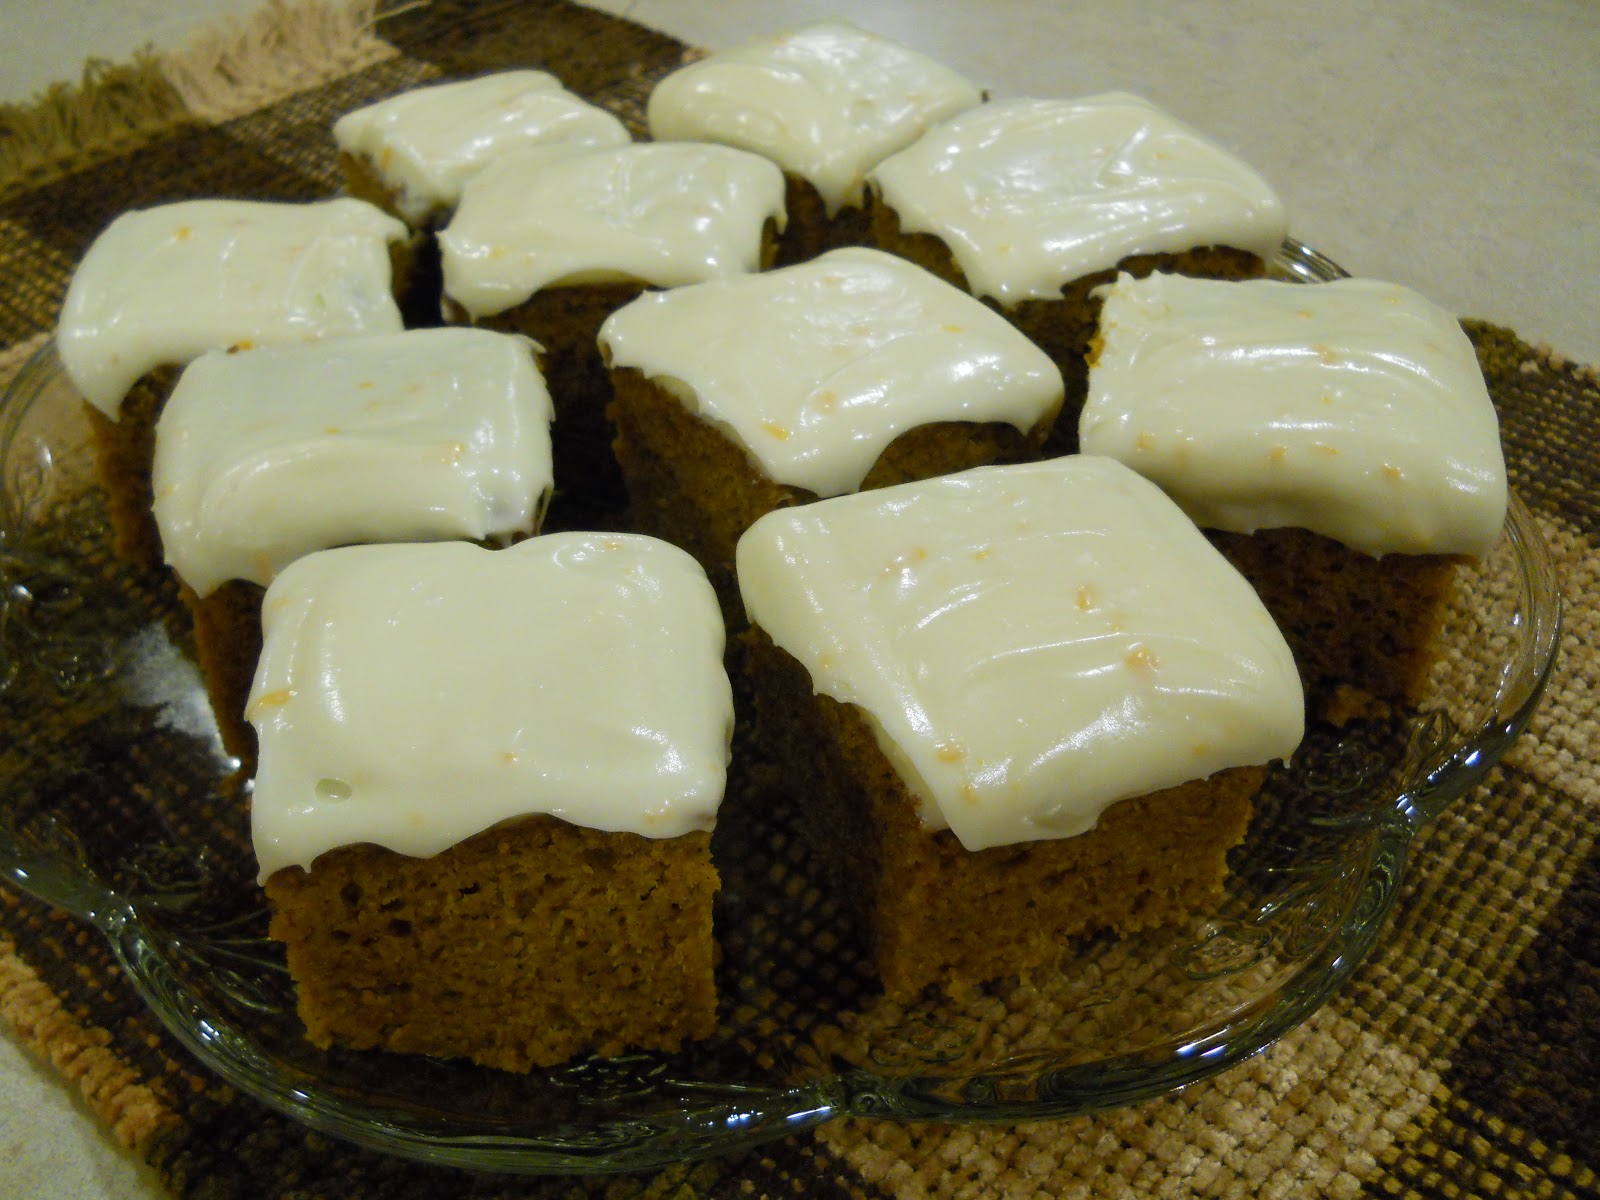
Tiramisu Cheesecake for Kevin

I've never
been a huge fan of Tiramisu.
Pudding-like textured desserts and the thought of soggy ladyfingers
always make me pick something else.
UNTIL NOW!! So if you typically
are not a fan of Tiramisu either….KEEP READING!
If I know
one thing about my friend Kevin, it is that he loves Tiramisu. So for his birthday I set out to find a
cheesecake recipe that would incorporate the flavors of a traditional Tiramisu. From the beginning this recipe was a
challenge. I originally found it on
Pinterest, but someone had “pinned” it without a valid link. With every new social media that comes along,
so do some simple, common-sense tips for using said new social media. It is always best to pin from an original
site and not repin all the time, but if you insist on re-pinning please make
sure there is a valid link to follow.
This recipe was ALL OVER Pinterest, but the majority of the pins had no valid
link. Okay, hopping off my soapbox now
and getting back to the story!
After some
additional web searches, I found this recipe included here. But all of my problems were not over. First, and foremost, the very first thing
you will notice is that the picture shows a beautiful piped frosting, yet no
recipe was included. Second, unless you
have done extensive research about ladyfingers, the simple “1 (12 ounce)
package ladyfingers” is very misleading. And last but not least, Tiramisu has
coffee AND rum flavors, yet I couldn't find any rum in the recipe anywhere.
Ready for a
challenge, I set out to make a Tiramisu Cheesecake that would be to die for.
Let’s talk
about ladyfingers. I couldn't wrap my
head around how the soft bread-like ladyfingers would make an appropriate
cheesecake crust; I knew I needed something with a graham-cracker-like texture,
not bread. But little did I know that
there are two kinds of ladyfingers!! Soft bread-like ladyfingers (found in most
bakery sections of finer grocery stores) and a cookie-like version found on the
cookie aisle. When I found these Balocco Savoiardi Ladyfingers, I
knew I had what I needed. They are a
soft cookie that you can easily crush into fine crumbs either using your
fingers or by placing them in a Ziploc bag and using a rolling pin to crush
them. The original recipe called for 1
(12 ounce) package of ladyfingers. I
bought 2 (7 ounce packages); each
package has two sleeves of ladyfingers in it, so I used 1 and a half packages
of ladyfingers (or 3 sleeves) to equal almost the 12 ounces.
To solve the
problem about there being no rum flavor in the cheesecake, I decided I would let
the cheesecake have all the coffee flavor and I would focus on making the
frosting incorporate the rum flavor, thus
solving two of my three problems. Now I have the rum flavor AND a frosting to
pipe around the edges!
And lastly,
the original recipe does not instruct you to use a water bath while baking your
cheesecake. Bake(r)ing tip: always,
always, ALWAYS use a water bath when baking cheesecake. I have not used it before when a recipe doesn't call for it, thinking that “maybe this recipe doesn't require it” and I
have been wrong! So just trust me on this one and always use a water bath. It’s simple to do; just cover the bottom of
your springform pan with foil up the sides so that no water can get in around
the bottom. Then place your springform
pan in the middle of a roasting pan and add boiling water to about halfway up
the side of your pan. The steam that the
boiling water creates while the cheesecake is baking will keep it moist and
will keep the cheesecake from cracking on the top.
This cheesecake
is an incredibly rich mix of coffee and rum flavors that will satisfy all Tiramisu
Lovers’ taste buds and have them wanting more.
~Enjoy!!
Ingredients:
For the crust:
12 ounces ladyfingers – I used 3
sleeves of Balocco Savoiardi brand
4 tablespoons butter, melted
2 tablespoons coffee flavored liqueur-
I used Kahlua
For the Cheesecake:
3 (8 ounce) packages cream cheese
1 (8 ounce) container mascarpone
cheese
1 cup white sugar
2 eggs
4 tablespoons all-purpose flour
2 tablespoons coffee flavored liqueur-
again, Kahlua
1 (1 ounce) square semisweet
chocolate
For the frosting:
½ cup butter, softened
About 3 cups powdered sugar
3-4 TBLS rum- I used Appleton Estate
brand
Cheesecake Directions:
Preheat oven to 350 degrees F.
Crush the ladyfingers to fine crumbs.
Mix the melted butter into the crumbs. Moisten with 2 tablespoons of the coffee
liqueur. Press into a 9 inch springform pan.
Set aside.
In a large bowl, mix cream cheese,
mascarpone, and sugar until very smooth. Add 2 tablespoons coffee liqueur, and mix.
Add the eggs and the flour; mix SLOWLY until just smooth. The consistency of
the mascarpone can vary. If the cheesecake batter is too thick, add a little
cream. Do not over mix at this point. Pour batter onto crust.
Place the springform pan in a
broiling pan and add boiling water about up to the middle of the springform
pan. Bake for 40 to 45 minutes, or until just set. Open oven door, and turn off
the heat. Leave cake to cool in oven for 20 minutes. Remove from oven, cool
completely. Cover with a clean dish towel and refrigerate overnight. Prior to
serving, grate the semi-sweet chocolate (I used my lemon zester to make very
fine chocolate shavings) over top and pipe with frosting. I used chocolate-covered coffee beans in the
middle of each “frosting mound”
Frosting Directions:
Beat butter at medium speed with an
electric mixer until creamy; gradually add 1 cup powdered sugar, beating at low
speed until blended. Add rum and
vanilla, beating until blended.
Gradually add remaining powdered sugar until you reach the desired
consistency. You want a light smooth
frosting, but it needs to be thick enough to hold its shape. Place frosting in a piping bag and pipe
around the edges of the cheesecake. I used a Wilton 1M tip to pipe the
frosting. Return to the refrigerator
until time to serve.
For next time:
The only thing I am going to do
differently next time; I am going to frost a very thin layer of frosting over
the entire cheesecake before adding the chocolate shavings and piped icing.
That way, every bite will have a hint of the rum frosting in it!
Happy Bake(r)ing!!
 |
| Happy Kevin |